This sweet and savory dish has taken the internet by storm, amassing over 156.7K social shares and even earning a spot in popular cookbooks. With just a few pantry staples, you can whip up a restaurant-quality meal in under 30 minutes.
The magic lies in the perfect balance of flavors—crispy golden protein coated in a rich, caramelized glaze. Whether you’re cooking for a busy weeknight or hosting guests, this crowd-pleaser delivers every time.
Each serving packs between 450-503 calories, making it a satisfying yet balanced option. The combination of simple ingredients transforms into something extraordinary with minimal effort.
Key Takeaways
- Viral dish with over 156,000 social media shares
- Ready in 30 minutes using basic ingredients
- Perfect sweet-savory flavor profile
- Works for both casual dinners and special occasions
- Nutritionally balanced at 450-503 calories per serving
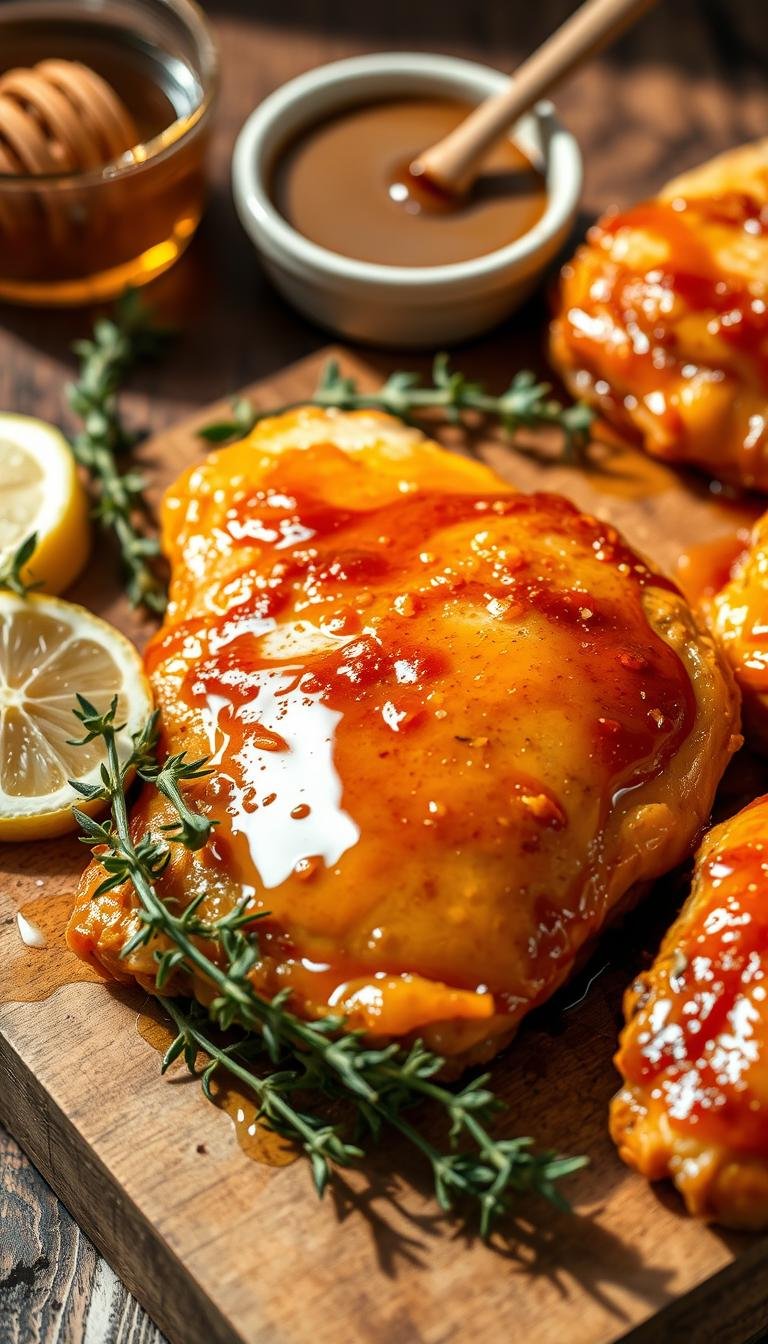
Why You’ll Love This Honey Butter Chicken Recipe
Weeknight dinners just got an upgrade with this effortlessly delicious creation. It’s the ideal blend of crispy texture and velvety sauce—all ready before takeout could arrive.

Flavor That Pops
The sauce is a masterclass in balance. Sweetness from golden syrup meets the deep umami of fermented soy. A splash of apple cider vinegar adds brightness, cutting through richness.
Fast Enough for Any Night
From fridge to plate in under 30 minutes. Prep takes just 5 minutes, while cooking fits into a single pan. Perfect for post-work exhaustion or last-minute guests.
Pantry Staples Shine
Only 10 ingredients—most already in your kitchen. Flour coats the protein for crunch, while the glaze needs just four key components. Compare that to restaurant dishes with 20+ items.
“Makes weeknights feel special,” raves one home cook. Try it alongside Cajun pork tenderloin for a flavor-packed menu twist.
Ingredients You’ll Need
The right components make all the difference in achieving that perfect crispy-saucy balance. Whether you prefer tender thighs or leaner cuts, each ingredient plays a role in texture and flavor. Here’s your checklist:

Protein Prep Essentials
Choose between 1.3 lbs of thighs (juicier) or 1.5 lbs of breasts (lower fat). Thighs retain moisture during cooking, while breasts offer a leaner bite.
For dredging:
- Flour blend: Mix with garlic and onion powder (1:1 ratio) for extra flavor.
- Skip cornstarch—it can make the coating too dense.
Sauce Components
The glaze combines sweet, tangy, and rich notes:
- ½ cup honey: Clover honey blends smoothly; wildflower adds floral hints.
- 5 tbsp unsalted butter: Lets you control sodium levels.
- 1 tbsp soy sauce: Opt for low-sodium if needed.
- 2 tbsp apple cider vinegar: Balances sweetness (1:3 vinegar-to-honey ratio).
Pro tip: Measure ingredients precisely—heaping tablespoons can throw off the sauce’s consistency.
How to Prepare the Chicken
The secret to perfect crispiness starts with smart preparation techniques. Whether you prefer thighs or breasts, each cut requires slight adjustments for optimal results.

Selecting the Ideal Cut
Thighs deliver richer flavor and stay juicy due to higher fat content. They’re forgiving for beginners, as they’re less likely to dry out. For leaner options, chicken breasts cook faster but need careful monitoring to prevent toughness.
Cut uniform pieces (1.5-inch cubes) for even cooking. Smaller chunks risk overcooking, while larger ones may burn before the center cooks through.
Mastering the Dredge
Use ⅓ cup flour per 1.3 lbs of protein. Season it with garlic powder for depth. The shake-and-tap method works best—toss pieces in a bag, then gently tap off excess to avoid a gummy coating.
Heat a mix of oil and butter for searing. The oil raises the smoke point, while butter adds flavor. Cook in batches to prevent steaming and ensure crispiness. Always verify doneness with a meat thermometer (165°F).
Step-by-Step Cooking Instructions
Achieving restaurant-quality crispiness at home requires mastering two key steps. First, sear the protein to golden perfection, then simmer the glaze to a glossy finish. Timing and heat control make all the difference.
Searing to Golden Perfection
Use a cast iron or stainless steel pan for even browning. Preheat it over medium-high heat with 1 tbsp oil. Add chicken in batches, ensuring pieces don’t touch. Cook 6-8 minutes per side until deeply golden.

Pro tip: Cast iron retains heat better, while stainless steel offers consistent searing. Avoid nonstick—it won’t develop the same crust.
Simmering the Sauce to Ideal Consistency
Reduce heat to medium after searing. Pour the glaze into the same pan, scraping up browned bits. Let it bubble 3-4 minutes until it thickens to a runny caramel stage. Stir constantly to prevent graininess.
- Visual cue: Sauce should coat the back of a spoon but drip slowly.
- Fix separation: Whisk in 1 tsp water if the sauce breaks.
Let the dish rest 5 minutes before serving. This allows the glaze to cling evenly.
Secrets to the Perfect Honey Butter Sauce
Creating the ideal honey butter sauce is equal parts science and art. The right balance of sweet, tangy, and rich flavors elevates the dish from simple to spectacular.

How to Balance Sweetness and Acidity
Use a 2:1 ratio of honey to apple cider vinegar. This ensures the sauce isn’t cloying. If it’s too sweet, a pinch of lemon zest brightens it instantly.
Heat matters—the sauce thickens at 160°F. Overcooking causes bitterness, so simmer gently. Constant whisking prevents graininess, while passive simmering risks separation.
Avoiding Common Sauce Mistakes
Over-thinning? A cornstarch slurry (1 tsp mixed with water) rescues the texture. For extra depth, stir in minced garlic after simmering.
- Emulsion tip: Whisk vigorously when adding soy sauce to keep fats blended.
- Storage: Refrigerate in airtight containers for up to 1 week. Reheat slowly to maintain silkiness.
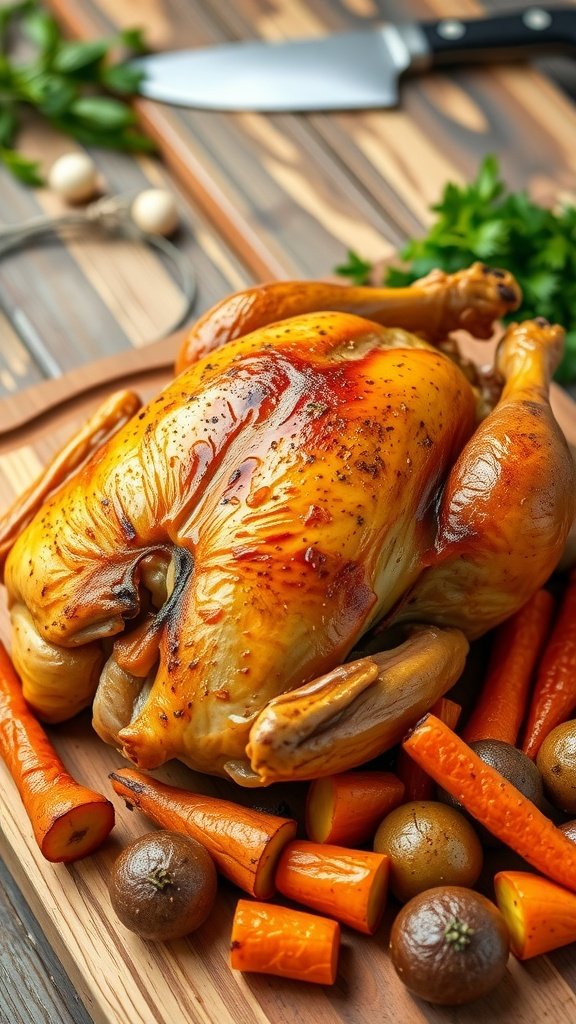
Serving Suggestions for Honey Butter Chicken
Transform your meal into a feast with these perfect pairings. The right sides and garnishes enhance textures and flavors, turning a simple dish into a memorable spread.
Best Side Dishes to Pair
Starchy staples like jasmine rice soak up the sauce beautifully. For a creamy contrast, try garlic mashed potatoes with a hint of mustard.
Vegetables add balance. Roasted harissa carrots bring smoky heat, while bacon-wrapped green beans offer crunch. Pro tip: Blanch veggies first for vibrant color.
Garnishing for Extra Flair
A sprinkle of toasted sesame seeds adds nuttiness. Fresh herbs like parsley or chopped green onions brighten the dish visually and flavor-wise.
For wine, an off-dry Riesling complements the sweetness without overpowering. Serve in a cast-iron skillet for rustic charm.
Storage and Reheating Tips
Keep your meal fresh and flavorful with smart storage solutions. Follow these methods to maintain texture and taste whether enjoying leftovers tomorrow or months later.
Preserving Juiciness in Leftovers
Cool cooked portions within 2 hours for food safety. Transfer to an airtight container with parchment paper between layers to prevent sogginess.
When microwaving, add 1 tbsp broth per serving to restore moisture. For crispier results, use an air fryer at 375°F for 3 minutes.
Freezing for Future Meals
Portion individual servings in silicone molds before freezing. This prevents freezer burn and makes thawing easier. Label with dates for optimal quality within 3 months.
| Method | Duration | Reheating Instructions |
|---|---|---|
| Refrigerate | 4 days | 350°F oven for 10-15 mins |
| Freeze | 3 months | Thaw overnight before reheating |
- Sauce separation fix: Whisk with 1 tsp warm water
- Pro tip: Freeze sauce separately for better texture control
Conclusion
This dish proves gourmet flavors don’t need complicated steps. With 5-star taste and minimal effort, it’s a win for busy cooks and food lovers alike. Spice it up with cayenne or keep it classic—the choice is yours.
Double the glaze for meal prep versatility. It stores beautifully for quick lunches or dinners. Don’t forget to pin this easy recipe for later or grab our cookbook for more delicious ideas.
Share your twist! Tag @JZEATS on Instagram so we can see your creations.