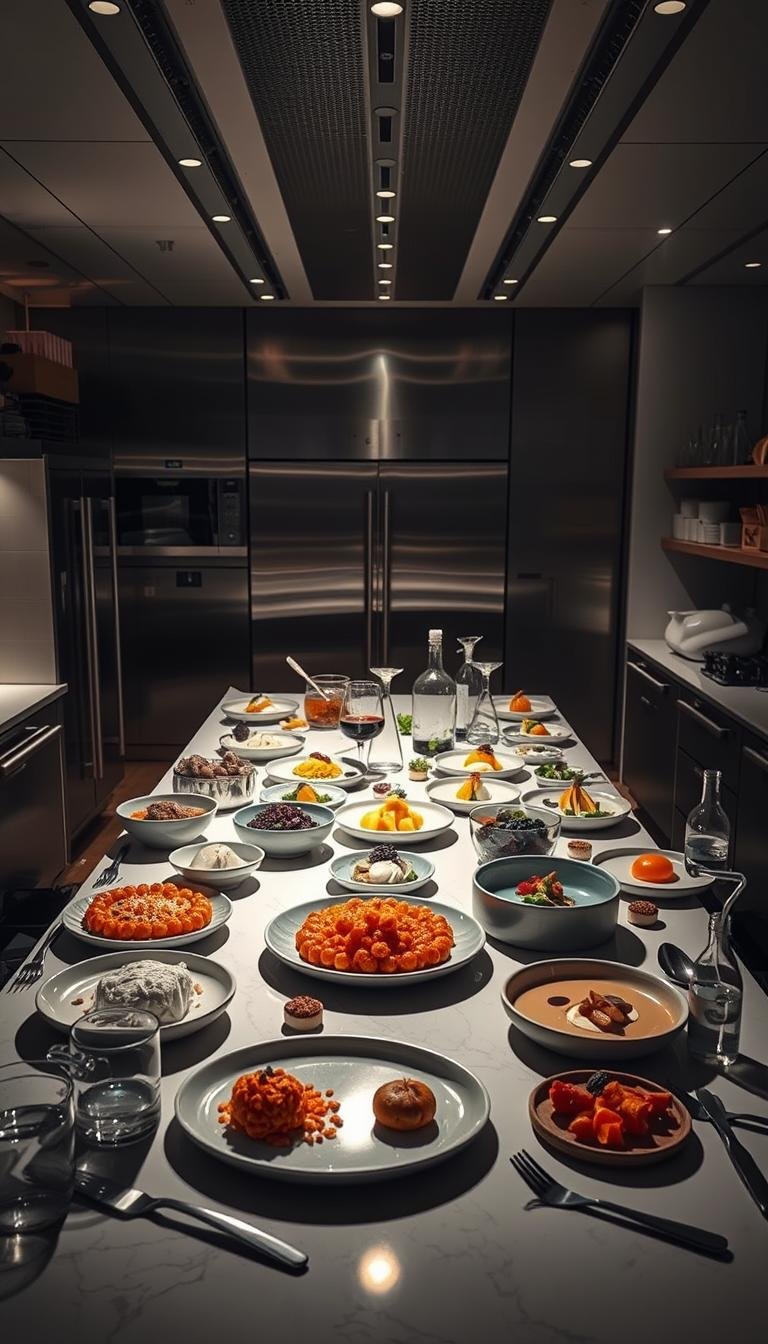
Ever wondered how chefs create dishes that look like art and taste like magic? The secret lies in molecular gastronomy, a blend of culinary art and scientific principles. This innovative approach to cooking transforms ordinary food into extraordinary experiences.
Renowned chefs like Ferran Adrià and Heston Blumenthal have pioneered techniques that push the boundaries of taste and presentation. From using sous vide machines to experimenting with liquid nitrogen, these methods are no longer confined to high-end restaurants. Now, you can bring these transformative techniques into your own kitchen.
Dave Arnold, a leading voice in food science, emphasizes the importance of balancing technology with deliciousness. His insights remind us that the goal is to enhance food, not overshadow it. Whether you’re hosting a dinner party or simply exploring new cooking methods, this article will guide you through practical applications of molecular gastronomy.
Let’s dive into the world of molecular gastronomy and discover how you can elevate your culinary skills. By the end, you’ll have actionable tips to create dishes that are as impressive as they are delicious.
Key Takeaways
- Molecular gastronomy combines science and culinary art to enhance food experiences.
- Techniques like sous vide and liquid nitrogen are accessible for home cooks.
- Renowned chefs like Ferran Adrià and Heston Blumenthal inspire these methods.
- Dave Arnold highlights the balance between technology and taste.
- These methods can transform ordinary meals into extraordinary dining experiences.
What Is Molecular Gastronomy? A Brief Introduction
Have you ever thought about how science can transform your kitchen into a culinary lab? Molecular gastronomy is the scientific study of cooking processes, blending art and food preparation to create extraordinary dishes. It’s not just about cooking; it’s about understanding the chemistry and physics behind every bite.
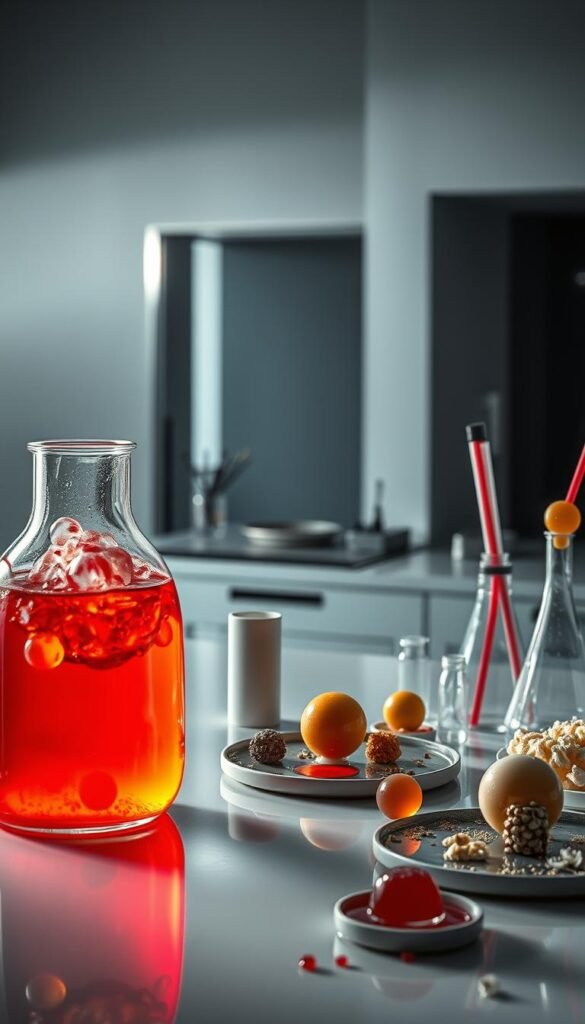
The Science Behind the Art
At its core, molecular gastronomy explores how ingredients change during cooking. It examines why certain techniques work and how to optimize them. For example, why does olive oil in pasta water make no difference? This field answers such questions by applying science to the kitchen.
Hervé This, a French chemist, coined the term in the 1980s. His work began with a failed cheese soufflé experiment, leading him to analyze cooking methods scientifically. Alongside physicist Nicholas Kurti, he laid the foundation for this innovative approach to food preparation.
History: From Hervé This to Modern Kitchens
The history of molecular gastronomy is rooted in curiosity and experimentation. Hervé This and Nicholas Kurti’s collaboration at Oxford University marked the beginning of a new era in cooking. Their research debunked culinary myths and introduced techniques now used in Michelin-starred kitchens.
Today, this field has evolved from laboratory experiments to practical applications in the world of fine dining. Chefs like Ferran Adrià and Wylie Dufresne have embraced these methods, though debates about the term’s relevance continue. Critics argue it can feel “soulless,” but proponents emphasize the balance between texture and flavor.
From its academic origins to modern home kitchens, molecular gastronomy continues to shape the way we think about food. Whether you’re a professional chef or a home cook, understanding its history and principles can elevate your culinary skills.
Essential Tools for Molecular Gastronomy at Home
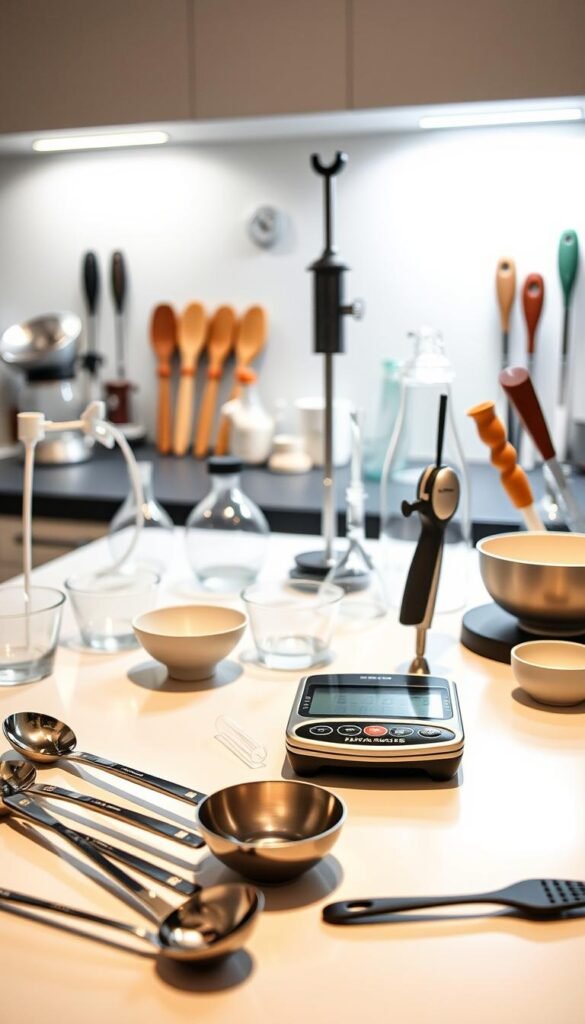
Transforming your kitchen into a culinary lab starts with the right tools. Whether you’re experimenting with low temperature cooking or creating edible spheres, having the proper equipment and ingredients is key. Let’s explore the must-haves for bringing these advanced techniques into your home.
Must-Have Equipment
Precision is the cornerstone of molecular techniques. A sous vide machine allows you to cook food at consistent low temperatures, ensuring perfect results every time. For example, a 140°F water bath can transform tough cuts of meat into tender delicacies over 24-48 hours.
Another essential tool is the whipping siphon. This device uses nitrous oxide to create light, airy foams from liquids like cream or fruit juice. When choosing a model, consider factors like foam consistency and ease of cleaning.
Specialty Ingredients
Beyond equipment, certain ingredients are crucial for molecular techniques. Agar, a plant-based gelatin alternative, sets at 95°F, making it ideal for vegan applications. Sodium alginate, on the other hand, is essential for spherification, requiring a 0.5% solution concentration to create those iconic caviar-sized flavor bombs.
When sourcing these items, look for food-grade suppliers or starter kits from trusted brands like Modernist Pantry. Always follow safety protocols, especially when handling advanced technology like liquid nitrogen.
- Invest in a sous vide circulator for precise cooking.
- Choose a whipping siphon for consistent foam textures.
- Stock up on agar and sodium alginate for texture modification.
- Organize your pantry to keep specialty ingredients accessible.
13 Molecular Gastronomy Tricks Explained
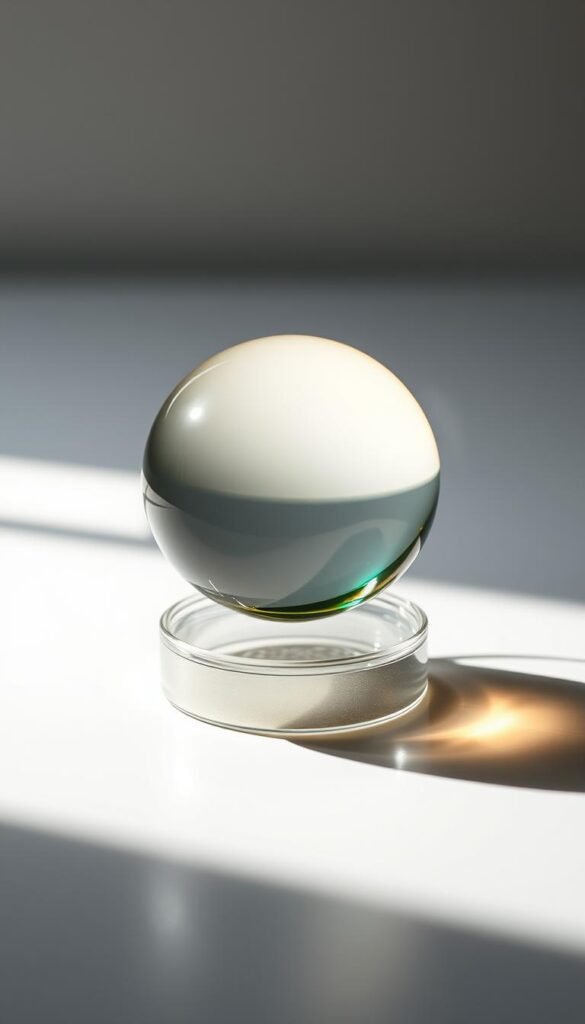
Ever wondered how to turn liquids into tiny flavor-packed spheres? Spherification is one of the most iconic techniques in modern cooking, transforming sauces, juices, and even cocktails into edible pearls. This method relies on the interaction between sodium alginate and calcium to create a thin, gel-like membrane around your chosen liquid.
Spherification: Caviar-Sized Flavor Bombs
Basic spherification involves mixing 1g of sodium alginate into 100ml of liquid. This creates a dispersed system where the alginate molecules interact with calcium ions to form a gel. The result? Tiny, caviar-sized spheres that burst with flavor in your mouth.
For a step-by-step example, try making balsamic vinegar caviar. Mix the vinegar with sodium alginate, then drop it into a calcium chloride bath. The reaction happens instantly, creating delicate spheres perfect for garnishing salads or appetizers.
Reverse Spherification for Acidic Liquids
Acidic ingredients like lime juice or tomato sauce require reverse spherification. This method uses a 0.5% calcium lactate solution and a 0.1% sodium alginate bath. The key is maintaining a pH above 3.5 to prevent premature gelling.
For instance, reverse-spherified lime juice can add a surprising twist to cocktails. The spheres float in the drink, releasing tangy bursts of flavor as you sip. This technique also works well with mango puree, especially when coated with chili powder for a sweet and spicy contrast.
- Compare direct and reverse spherification for different pH levels.
- Use calcium chloride alternatives for dietary restrictions.
- Store pre-made spheres in a calcium lactate solution to maintain texture.
- Experiment with multi-textured dishes using varying sphere sizes.
Understanding the molecular basis of alginate-calcium reactions can help you troubleshoot common issues. For example, if your spheres are too soft, increase the calcium concentration. If they’re too firm, reduce the alginate amount. Safety is also important—always use food-grade ingredients and handle sodium alginate with care.
Spherification isn’t just about technique; it’s about creativity. Whether you’re making balsamic caviar or lime juice spheres, this method allows you to explore new dimensions of flavor and texture in your cooking.
Creating Edible Foams with Nitrous Oxide
Imagine adding a cloud-like foam to your dishes, enhancing both flavor and presentation. Edible foams are a creative way to elevate your culinary creations, offering a unique texture that surprises and delights. Using nitrous oxide, you can achieve a 30-50% volume increase compared to manual whipping, making it a game-changer in modern food preparation.
Savory Foams: Cheese and Herb Infusions
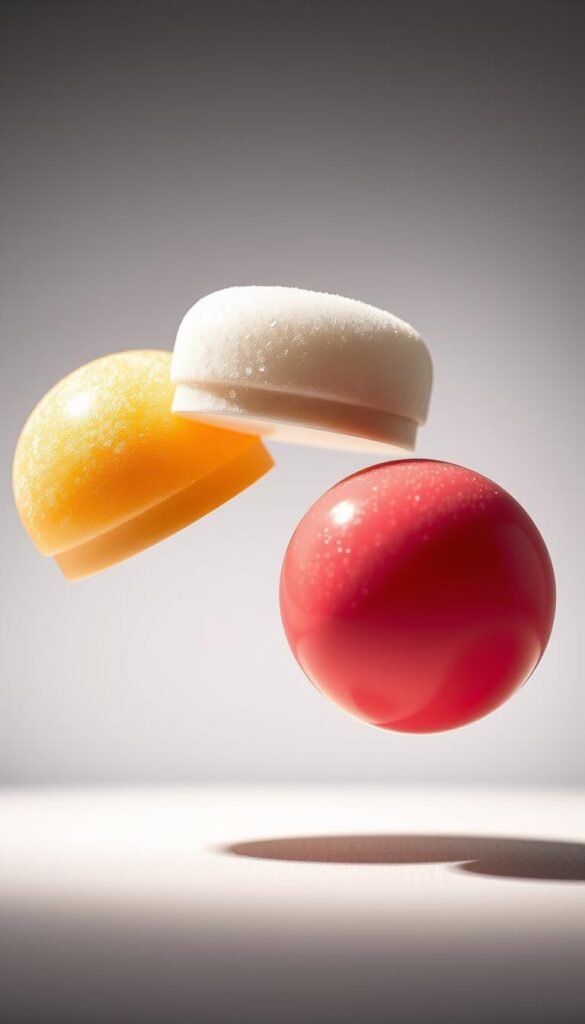
Savory foams can transform ordinary dishes into extraordinary experiences. For example, smoked gouda foam adds a rich, smoky flavor to potato gratin. To achieve the perfect texture, combine 0.3% xanthan gum and 1% lecithin for stability. Herb-infused foams, like basil or thyme, make excellent garnishes for soups, adding both flavor and visual appeal.
When using a whipping siphon, compare iSi and professional systems for consistency and ease of use. For vegan options, try aquafaba—a chickpea water substitute—to create light, airy foams without egg white.
Sweet Foams: Fruit and Chocolate
Sweet foams bring a touch of elegance to desserts. Raspberry foam, optimized with pectin, pairs beautifully with chocolate mousse. For a vegan alternative, use aquafaba to create a rich chocolate foam. Richard Blais’ nitro-chilled milkshakes at Flip Burger Boutique showcase how nitrous oxide can create a creamy, indulgent texture.
Control foam density by adjusting gas pressure in your siphon. For alcoholic foams, stabilize beer heads to create unique cocktail garnishes. Always prioritize food safety, especially when reusing gas cartridges.
- Experiment with different emulsifier ratios to troubleshoot collapsing foams.
- Compare nitrous oxide and carbon dioxide for varying textures.
- Use raspberry foam chemistry to optimize pectin content.
- Detail foam density control through precise gas pressure adjustments.
Creating edible foams is a creative way to add depth and dimension to your dishes. Whether savory or sweet, these foams can transform your food into a memorable dining experience.
Sous Vide: Precision Cooking Made Easy
Precision in cooking has never been easier than with sous vide. This method uses low temperature water baths to cook food evenly, ensuring perfect results every time. Whether you’re a beginner or a seasoned chef, sous vide offers a foolproof way to elevate your dishes.
Perfect Steaks Every Time
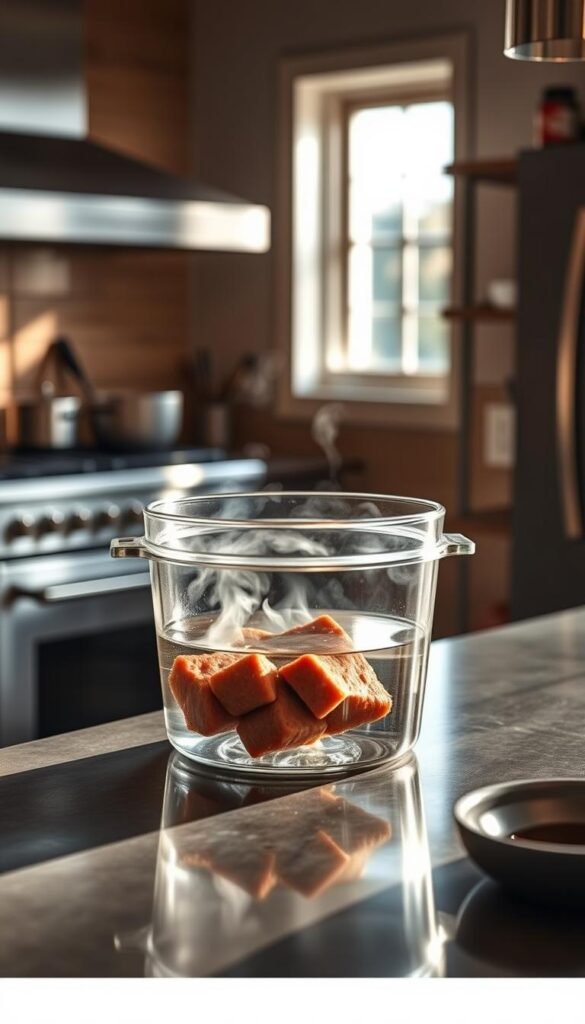
For a medium-rare 1″ ribeye, set your sous vide machine to 131°F and cook for 2 hours. This low temperature method locks in moisture, creating a steak that’s tender and juicy. Finish it with herb-infused butter for an extra layer of flavor.
Compare sous vide to reverse-sear methods. While both deliver excellent results, sous vide ensures consistent doneness throughout the steak. It’s a game-changer for achieving restaurant-quality taste at home.
Vegetables with Intensified Flavors
Transform carrots by cooking them at 183°F for 45 minutes. This process enhances their natural sweetness and creates a unique texture. Vacuum marination can also compress vegetables, intensifying their flavors.
Slow-cooked tomatoes benefit from enzymatic activation, which deepens their taste. For a foolproof egg yolk custard, sous vide ensures a silky, smooth consistency every time.
- Compare immersion circulators to water ovens for consistent results.
- Use spice rubs to infuse flavor into meats during the cooking process.
- Follow pasteurization timelines to ensure food safety.
- Troubleshoot common vacuum sealing errors for better results.
Sous vide is more than a cooking technique; it’s a way to explore new dimensions of flavor and texture. With the right ingredients and tools, you can create dishes that impress every time.
Gelification: Turning Liquids into Solids
Ever wanted to turn your favorite liquids into solid, edible creations? Gelification is a fascinating technique that transforms liquids into gels, opening up endless possibilities for food preparation. Whether you’re making translucent ravioli or vegan desserts, this method allows you to play with texture and presentation in a unique way.
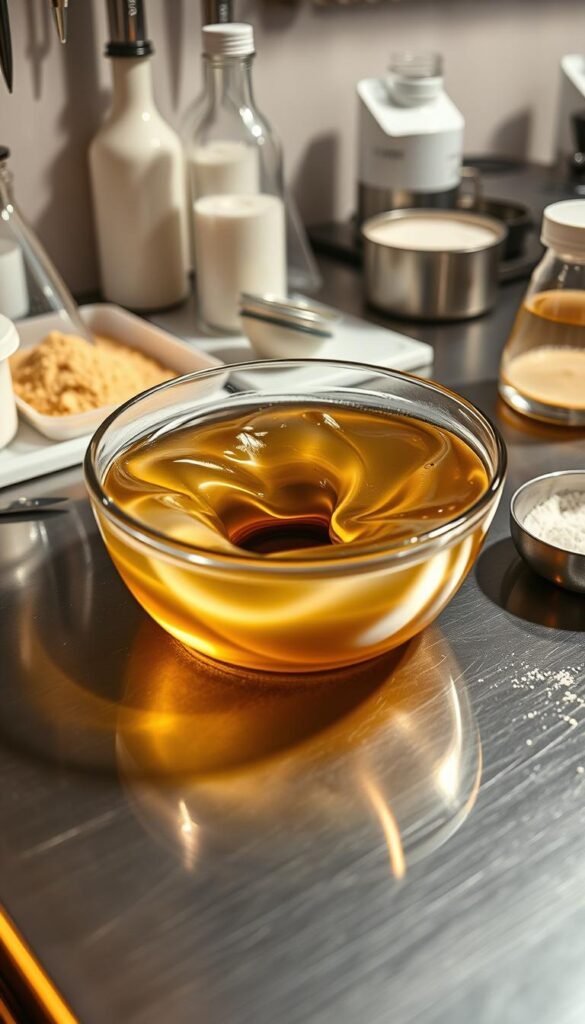
Agar-Agar vs. Gelatin
When it comes to gelification, the choice of ingredients matters. Agar-agar, a plant-based alternative, sets at 95°F, making it ideal for vegan dishes. Gelatin, derived from animal collagen, melts at 59°F, offering a softer texture. For sliceable gels, a 0.8% agar concentration works best.
Experiment with vegan panna cotta or layered gel desserts to see how these ingredients perform. If your gels turn out rubbery, adjust the concentration for better results.
Transparent Ravioli and Noodles
Gelification isn’t just for desserts. Create translucent consommé sheets to wrap around fillings, or craft edible cocktail “noodles” for a creative twist. These techniques showcase how cooking can blend science and art.
For example, clarified Bloody Mary gels make stunning appetizers, while suspended fruit displays in herbal teas add visual appeal. The possibilities are endless when you explore this way of food preparation.
- Compare agar and gelatin textures for vegan and non-vegan dishes.
- Develop layered desserts with varying set points for unique textures.
- Use gelification to create edible cocktail garnishes or appetizers.
- Troubleshoot rubbery gels by adjusting ingredient concentrations.
- Experiment with temperature-sensitive gelatin showpieces for dramatic effects.
Flash-Freezing with Liquid Nitrogen
Have you ever seen a chef freeze a dish in seconds, creating a dramatic effect that wows the crowd? Flash-freezing with liquid nitrogen is a technology that transforms ingredients instantly, offering both speed and precision. At -321°F (-196°C), liquid nitrogen can freeze a kilogram of ice cream base in just 90 seconds, making it a game-changer in modern cooking.
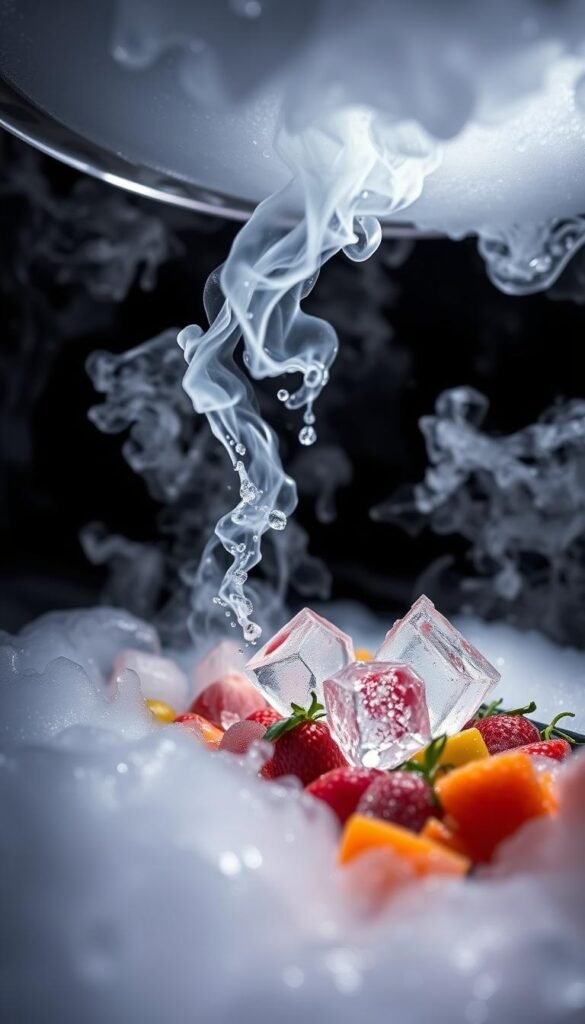
Instant Ice Cream
Creating ice cream with liquid nitrogen is a fun and efficient way to impress your guests. The rapid freezing process results in smaller ice crystals, giving the dessert a smoother texture. For example, basil-infused strawberry ice cream can be made by mixing the base and freezing it instantly with liquid nitrogen.
Frozen meringue shards are another creative application. They add a crunchy texture to desserts and can be made by freezing meringue with liquid nitrogen. Compare this to traditional freezing methods, where larger crystals often result in a grainier texture.
Dramatic Smoking Effects
Liquid nitrogen isn’t just for freezing—it can also create stunning smoking effects. Frozen herb chips, when placed in cold water, release a dramatic smoke that enhances the visual appeal of your dishes. This technique is perfect for adding a theatrical touch to your presentations.
For cocktails, a frozen mist can elevate the experience. Simply pour liquid nitrogen into cold water near the drink to create a smoky effect. Always follow safety protocols when handling liquid nitrogen, including wearing gloves and working in a well-ventilated area.
| Method | Freezing Time | Crystal Size | Texture |
|---|---|---|---|
| Traditional Freezing | Several Hours | Large | Grainy |
| Liquid Nitrogen | 90 Seconds | Small | Smooth |
- Always wear protective gear when handling liquid nitrogen.
- Experiment with basil-infused strawberry ice cream for a unique flavor.
- Use frozen meringue shards to add texture to desserts.
- Compare crystal sizes in traditional vs. liquid nitrogen freezing.
- Create smoking effects with frozen herb chips for dramatic plating.
Flash-freezing with liquid nitrogen is a way to bring science into your kitchen. Whether you’re making ice cream or adding a smoky effect to your dishes, this technology opens up endless possibilities. For more creative dessert ideas, check out these elegant cheesecake recipes.
Emulsification Tricks for Silky Textures
Want to achieve smooth, velvety textures in your dishes? Emulsification is the key. This technique combines oil and water into a stable mixture, creating sauces and dressings that are both flavorful and visually appealing. Whether you’re making a classic vinaigrette or experimenting with unique mayo variations, mastering emulsification can elevate your cooking.
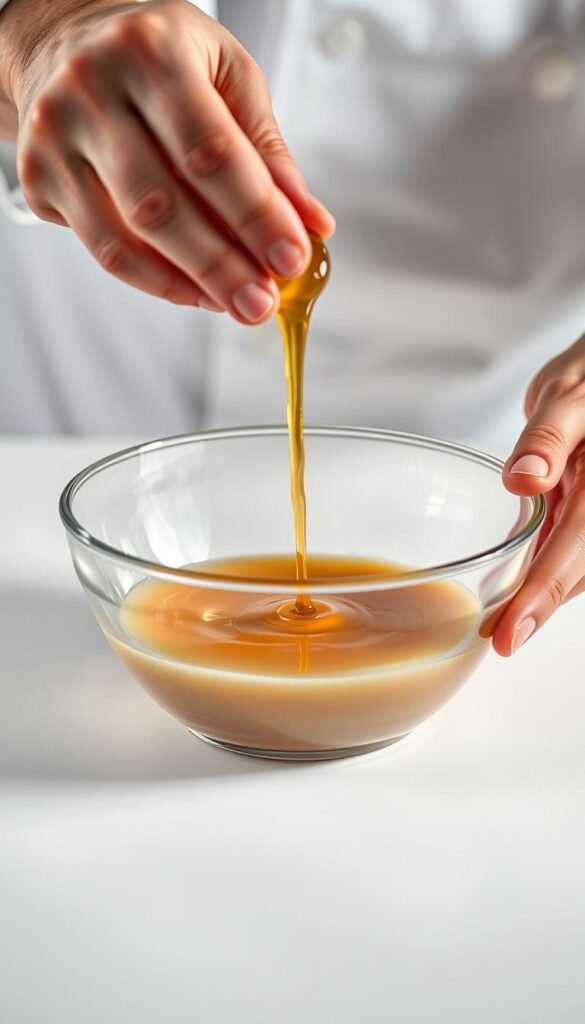
Stable Vinaigrettes
Creating a stable vinaigrette requires the right balance of oil and water. A 3:1 ratio is ideal for a smooth, lasting emulsion. For example, a champagne vinaigrette can stay stable for up to 24 hours when prepared correctly. Add a touch of mustard or honey to enhance the texture and flavor.
If your emulsion breaks, don’t panic. Adjust the temperature or whisk in a small amount of warm water to bring it back together. Experiment with flavored oils, like rosemary or garlic, to add a unique twist to your dressings.
Mayonnaise with a Twist
Mayonnaise is a classic emulsion, relying on egg yolk as the emulsifier. The lecithin in egg yolk helps bind oil and water into a creamy texture. For a saffron-infused aioli, steep saffron threads in warm water before mixing them into the mayo base.
Vegan mayo is another exciting option. Use aquafaba, the liquid from canned chickpeas, as a substitute for egg yolk. This way, you can create a plant-based emulsion that’s just as smooth and flavorful.
- Use a 3:1 oil-to-water ratio for stable emulsions.
- Add mustard or honey to enhance vinaigrette texture.
- Experiment with flavored oils for unique dressings.
- Try saffron-infused aioli for a gourmet touch.
- Use aquafaba for vegan mayo alternatives.
Emulsification is a versatile way to enhance your cooking. By understanding the science behind it, you can create silky textures that impress every time. Whether you’re making a simple vinaigrette or a complex aioli, these tricks will help you master the art of emulsification.
Deconstruction: Classic Dishes Reimagined
What if you could take a familiar dish and turn it into a culinary masterpiece? Deconstruction is a way to break down classic recipes and rebuild them with a modern twist. This technique allows you to explore new dimensions of taste and texture, creating dishes that surprise and delight.
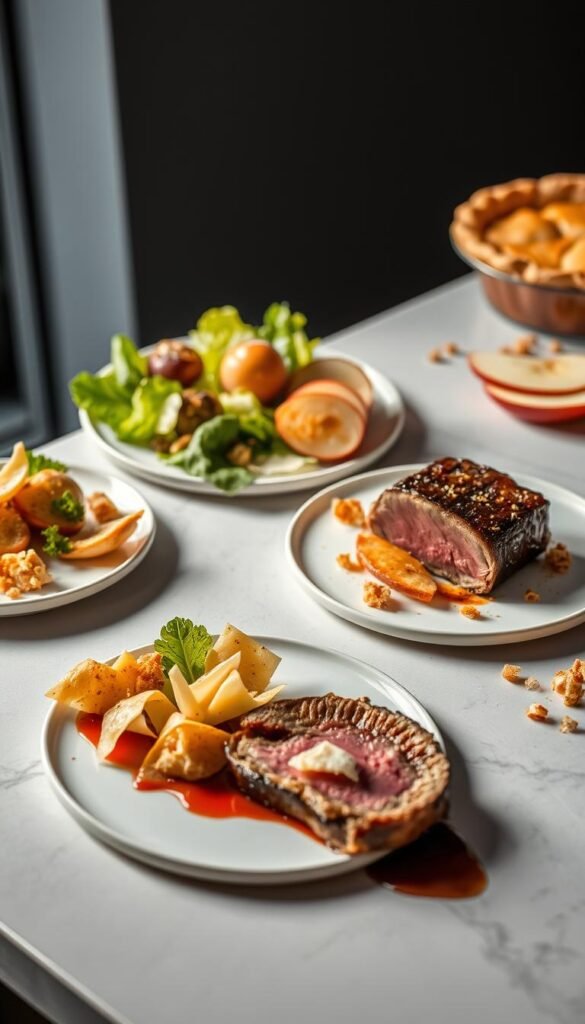
By reimagining traditional food, you can highlight individual ingredients in unexpected ways. From savory salads to sweet desserts, deconstruction offers endless possibilities for creativity. Let’s dive into two iconic examples: Caesar salad and apple pie.
Deconstructed Caesar Salad
Transform a classic Caesar salad into a work of art. Start by creating parmesan crisp “croutons” infused with anchovy powder. These add a crunchy texture and a burst of umami flavor. Next, craft liquid center Caesar dressing spheres using spherification techniques.
For the greens, use delicate baby romaine leaves arranged in a visually appealing pattern. The key is balancing the taste of each component while maintaining the dish’s essence. This way, every bite offers a unique sensory experience.
Dessert Deconstruction (Apple Pie)
Reimagine apple pie as a modern dessert. Begin with a spiced foam made from apple puree and cinnamon. Pair it with a “pastry soil” created from crumbled pie crust and toasted nuts. This combination offers a playful contrast of textures.
To enhance the taste, add a drizzle of caramel sauce and a sprinkle of dehydrated apple slices. The result is a dessert that captures the essence of apple pie in a completely new way. It’s a perfect example of how deconstruction can elevate familiar dishes.
| Aspect | Traditional Plating | Deconstructed Plating |
|---|---|---|
| Preparation Time | 30 minutes | 45 minutes |
| Ingredient Cost | $10 | $15 |
| Visual Appeal | Moderate | High |
- Experiment with flavor balance to enhance deconstructed dishes.
- Use textural contrasts to create a memorable dining experience.
- Explore modernist takes on classic recipes like grilled cheese or French onion soup.
- Compare costs to understand the investment in deconstructed plating.
- Map sensory experiences to ensure every element contributes to the overall taste.
Deconstruction is more than a technique; it’s a way to rethink how we experience food. By breaking down and rebuilding classic dishes, you can create meals that are as visually stunning as they are delicious. Whether you’re a home cook or a professional chef, this approach offers endless opportunities for creativity.
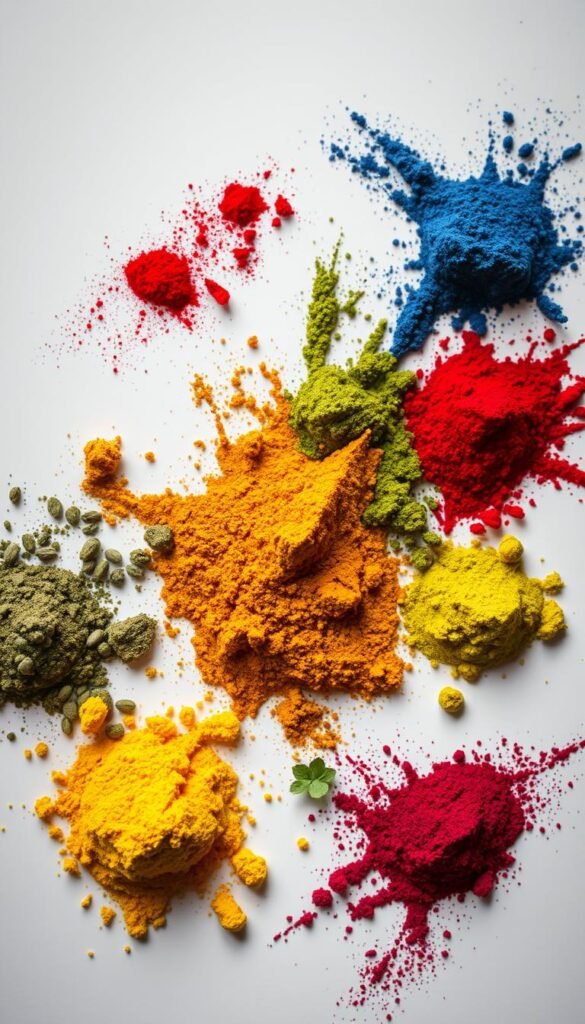
Powdered Flavors: Dry Magic
What if you could transform oils and cheeses into fine powders that elevate your dishes? Powdered flavors are a way to add unique textures and intense tastes to your cooking. This technology turns liquids and solids into versatile ingredients that can be used in countless creative applications.
Turning Oils into Dust
Maltodextrin, a starch-based powder, can absorb up to 60% of its weight in oil. This way, you can turn truffle oil into a dust that’s perfect for finishing pasta dishes. The process is simple: mix the oil with maltodextrin until it forms a powder. This technology ensures the flavor remains intact while adding a new texture.
For peanut butter powder, blend roasted peanuts with maltodextrin. The result is an instant powder that can be rehydrated or used as a garnish. If clumping occurs, add anti-caking agents like silicon dioxide to maintain the powder’s consistency.
Cheese Powder for Garnish
Freeze-dried cheese retains 97% of its original flavor, making it an excellent choice for garnishes. Sprinkle cheddar powder over popcorn or use parmesan dust to enhance soups. The freeze-drying process removes moisture while preserving the cheese’s rich taste.
For umami-rich mushroom powder, dehydrate mushrooms and grind them into a fine dust. This powder can be used to rim cocktail glasses or add depth to sauces. Compare spray-dried and freeze-dried results to find the best way to preserve flavor and texture.
| Method | Flavor Retention | Texture | Best Use |
|---|---|---|---|
| Spray-Dried | 90% | Fine, powdery | Beverages, sauces |
| Freeze-Dried | 97% | Crunchy, granular | Garnishes, snacks |
- Create truffle oil powder for pasta finishing.
- Demonstrate instant peanut butter powder for quick snacks.
- Troubleshoot clumping in hygroscopic powders with anti-caking agents.
- Use freeze-dried berry dust for desserts and cocktails.
- Explore molecular encapsulation techniques for flavor preservation.
- Compare spray-dried vs. freeze-dried results for optimal texture.
- Create umami-rich mushroom powder for savory dishes.
- Preserve citrus zest powder for long-lasting flavor.
- Detail anti-caking agent alternatives for smooth powders.
Powdered flavors are a way to experiment with new textures and tastes in your cooking. Whether you’re garnishing a dish or creating a unique cocktail rim, these ingredients offer endless possibilities. With the right technology, you can transform ordinary matter into extraordinary culinary creations.
Hot and Cold Contrasts
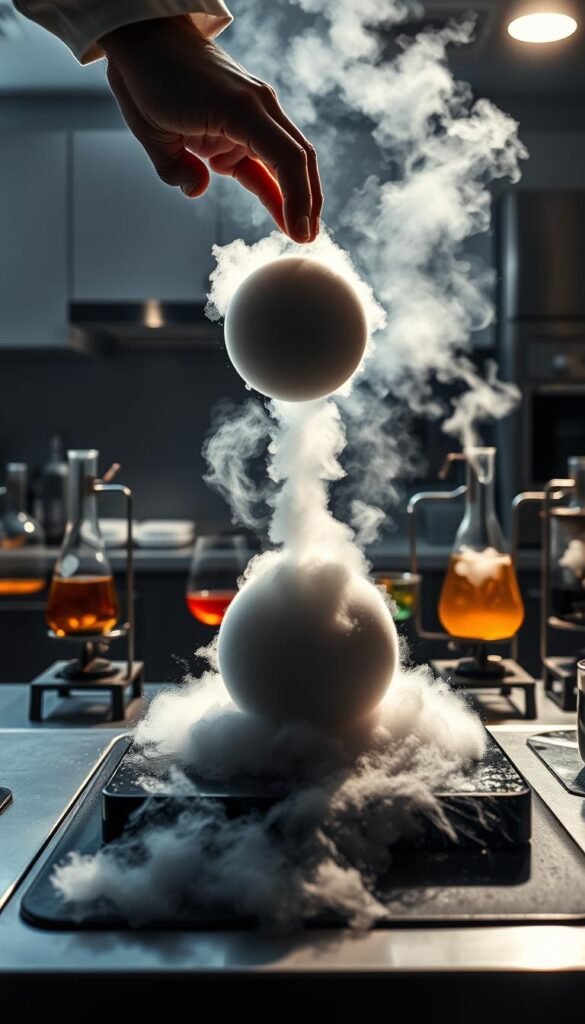
What if you could serve a dessert that defies expectations by being both warm and cold at the same time? Hot and cold contrasts are a way to surprise your guests and elevate your food to new heights. By playing with temperature, you can create dishes that are as intriguing as they are delicious.
Warm Ice Cream
Imagine serving ice cream that stays creamy even when warm. Methylcellulose, a hydrocolloid, makes this possible by gelling at temperatures between 140-194°F. This way, you can create heat-stable vanilla ice cream that pairs perfectly with a molten chocolate center.
For a caramelized white chocolate frozen mousse, combine methylcellulose with propylene glycol alginate for cold stability. This ensures the dessert maintains its texture while offering a surprising contrast in taste. Cryofried herbs can also add a unique twist to hot dishes, enhancing the overall experience.
Frozen Hot Chocolate
Frozen hot chocolate is another example of how temperature contrasts can transform a classic treat. By using thermal shock plating techniques, you can create a dessert that’s cold on the outside but warm on the inside. This method highlights the versatility of matter in food preparation.
For a modernist take on baked Alaska, experiment with hydrocolloid stabilizers to achieve the perfect balance of hot and cold. Smoking dry ice presentations can add a dramatic touch, making the dish as visually stunning as it is flavorful.
- Create heat-stable vanilla ice cream with methylcellulose.
- Demonstrate a molten chocolate center frozen dessert.
- Troubleshoot timing for temperature contrast dishes.
- Present caramelized white chocolate frozen mousse.
- Explore cryofried herbs for hot dishes.
- Detail thermal shock plating techniques.
- Compare hydrocolloid stabilizers for hot and cold applications.
- Create modernist interpretations of baked Alaska.
- Demonstrate smoking dry ice presentations.
- Detail strategies for serving temperature paradoxes.
Edible Paper and Films
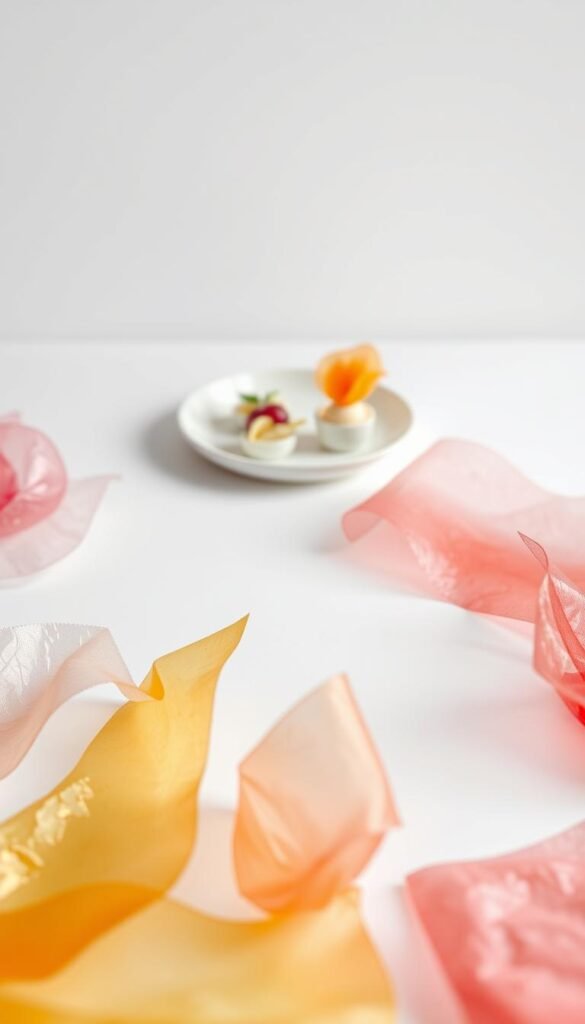
Have you ever considered turning your favorite flavors into edible sheets or films? This innovative way of presenting food combines creativity with modern technology, allowing you to transform liquids and solids into versatile ingredients. From fruit leather to soy sauce wrappers, edible films open up a world of possibilities in your cooking.
Fruit Leather Techniques
Fruit leather is a simple yet effective way to preserve and enjoy the natural sweetness of fruits. Dehydrating at 140°F helps retain enzyme activity, ensuring the flavors remain vibrant. For example, mango-turmeric fruit leather combines tropical sweetness with a hint of spice, creating a healthy snack or garnish.
To troubleshoot brittle films, consider adding plasticizers like glycerin. This helps maintain flexibility, ensuring your fruit leather is easy to handle. Experiment with different fruits and spices to create unique combinations that suit your taste.
Soy Sauce Wrappers
Soy sauce wrappers are a creative way to add umami to your dishes. These thin, edible films can be used to wrap dumplings or garnish soups. To strengthen the film, calcium lactate can be added, ensuring it holds its shape during cooking.
For a unique twist, try nori-flavored edible rice paper. This adds a savory, oceanic flavor to your dishes, perfect for sushi-inspired creations. The possibilities are endless when you explore this technology in your kitchen.
| Method | Flavor Retention | Texture | Best Use |
|---|---|---|---|
| Dehydration | High | Chewy | Fruit Leather |
| Freeze-Drying | Very High | Crispy | Savory Wrappers |
- Create mango-turmeric fruit leather for a healthy snack.
- Use soy sauce film to wrap dumplings or garnish soups.
- Add calcium lactate to strengthen edible films.
- Experiment with nori-flavored rice paper for sushi-inspired dishes.
- Compare dehydration and freeze-drying methods for optimal results.
Edible paper and films are a way to elevate your food presentation. Whether you’re making fruit leather or soy sauce wrappers, these techniques allow you to explore new dimensions of flavor and texture. With the right ingredients and technology, you can transform ordinary dishes into extraordinary culinary creations.
Infusions: Rapid Flavor Extraction
What if you could extract bold flavors in minutes, not hours? Modern cooking techniques like ultrasonic and centrifugal infusion make this possible. These methods accelerate the process, allowing you to create intense flavors in a fraction of the time.
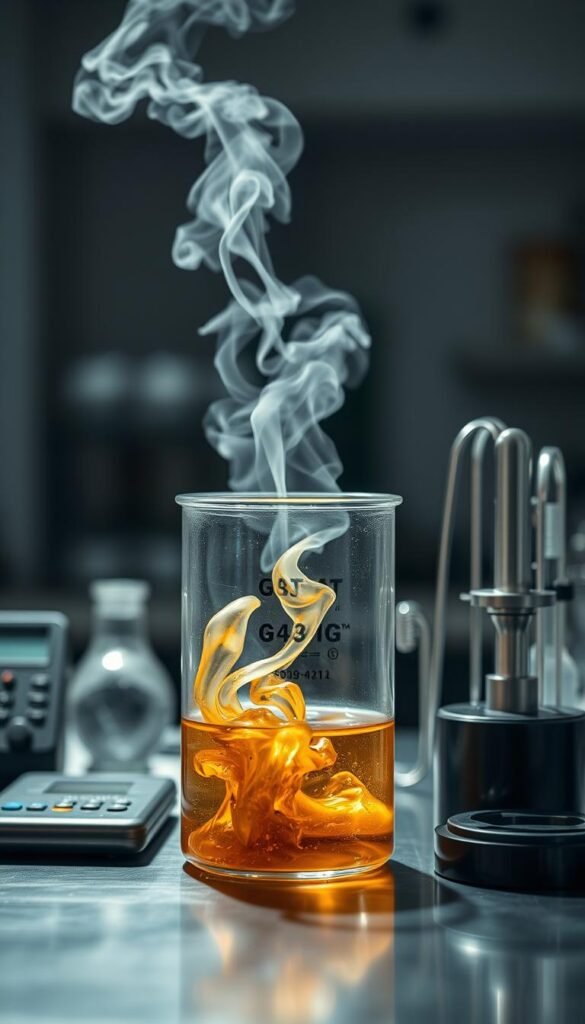
Whether you’re infusing oils or spirits, these ingredients can transform your dishes and drinks. Let’s explore how you can use these techniques to elevate your food and beverages.
Cold-Infused Oils
Cold-infused oils are a way to add depth to your cooking. Ultrasonic infusion speeds up the process by 10x, extracting flavors in just 15 minutes. For example, basil oil can be ready in no time, perfect for drizzling over pasta or salads.
Centrifugal infusion achieves full extraction in just 2 minutes. This method is ideal for creating intense oils like rosemary or garlic. If over-extraction occurs, adjust the pressure or time to maintain the perfect balance of taste.
Herb-Infused Spirits
Herb-infused spirits bring a unique twist to cocktails. Nitro-muddled herbs create instant infusions, adding fresh flavors to your drinks. For a smoky taste, try smoked tea vodka made in a rotary evaporator.
Citrus oil expression through freezing is another innovative way to enhance spirits. This method preserves the vibrant flavors of citrus, perfect for crafting refreshing cocktails.
| Method | Time | Best Use |
|---|---|---|
| Ultrasonic Infusion | 15 minutes | Cold-Infused Oils |
| Centrifugal Infusion | 2 minutes | Herb-Infused Spirits |
- Create basil oil in 15 minutes with ultrasound.
- Demonstrate rapid barrel-aged cocktail effects.
- Troubleshoot over-extraction in pressurized infusions.
- Explore CO2 charged infusion techniques.
- Compare vacuum vs pressure infusion results.
Molecular Mixology: Cocktail Tricks
Have you ever imagined turning cocktails into edible art? Molecular mixology combines science and creativity to transform drinks into unforgettable experiences. By using innovative techniques, you can elevate your cocktails to a whole new level.
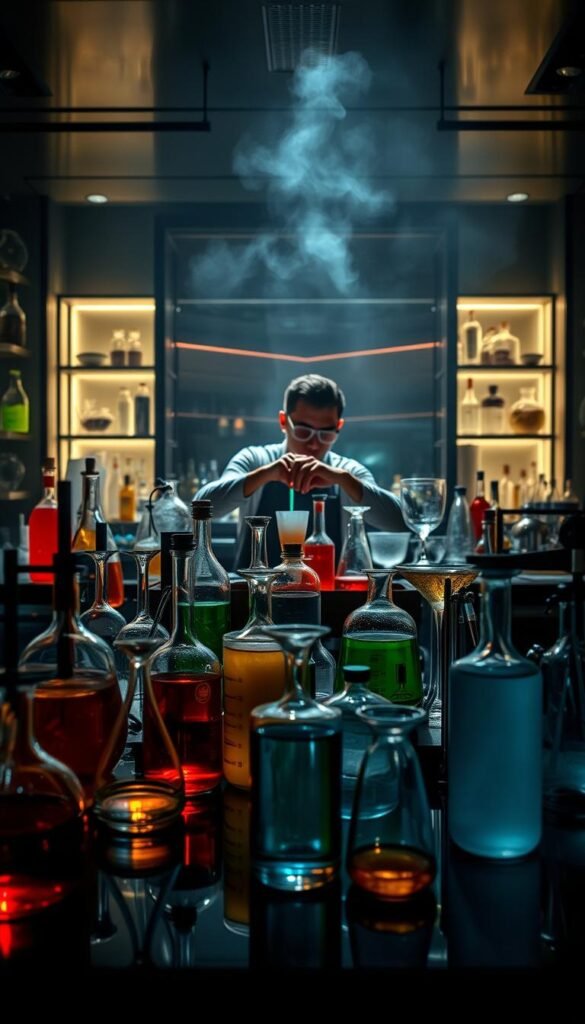
From boozeless spheres to smoked garnishes, these tricks are perfect for impressing your guests. Let’s dive into two standout methods: boozeless cocktail spheres and smoked old fashioneds.
Boozeless Cocktail Spheres
Creating cocktail spheres is a way to add a playful twist to your drinks. Using a 2% agar concentration ensures the spheres are stable and hold their shape. For example, negroni spheres with orange zest burst with flavor, offering a unique taste experience.
If you’re working with alcohol, be mindful of its limitations. Too much can weaken the sphere’s structure. Troubleshoot by adjusting the agar ratio or experimenting with different ingredients.
Smoked Old Fashioned
For a smoky twist on a classic, try a smoked old fashioned. Using hickory smoke at a density of 5g chips/L creates the perfect balance of flavor. Add a smoked rosemary garnish for an extra layer of complexity.
Fat-washed bourbon clarification is another technique to enhance the drink’s taste. This process removes impurities, leaving behind a smooth, rich flavor. Pair it with liquid nitrogen-chilled glass rims for a dramatic presentation.
- Create negroni spheres with orange zest for a burst of flavor.
- Demonstrate liquid nitrogen-chilled glass rims for a dramatic effect.
- Troubleshoot sphere alcohol content by adjusting agar ratios.
- Present smoked rosemary garnish techniques for added complexity.
- Detail fat-washed bourbon clarification for a smoother taste.
- Explore effervescent cocktail tablets for a fizzy twist.
- Compare sphere vs foam textures for different sensory experiences.
- Create layered density shots by varying sugar content.
- Demonstrate edible cocktail “caviar” service for a unique presentation.
- Detail cold brew coffee nitro infusions for a creamy finish.
Molecular mixology is a way to turn ordinary drinks into extraordinary creations. Whether you’re crafting spheres or smoking cocktails, these techniques will elevate your food and drink experiences.
Plating Like a Pro
Have you ever marveled at how chefs transform simple ingredients into visually stunning masterpieces? The art of plating is a way to elevate your dishes from ordinary to extraordinary. By focusing on composition, color, and texture, you can create food that is as beautiful as it is delicious.

Negative Space Techniques
One of the most effective ways to enhance your plating is by using negative space. Optimal plate composition includes 30% negative space, allowing the dishes to breathe and stand out. This technique draws the eye to the focal point of the plate, making the food more visually appealing.
To create elevation, consider using fried noodle baskets or stacked ingredients. This adds dimension and interest to your dishes. Troubleshoot color bleeding by using agar gels for sauce painting, ensuring vibrant, clean lines.
Using Edible Flowers and Microgreens
Edible flowers and microgreens are excellent for adding color and taste to your plates. Microgreen nutrient density peaks at 14 days of growth, making them a fresh and flavorful addition. Pair them with ingredients that complement their flavors, such as citrus or herbs.
For a unique twist, explore edible soil textural components. These can add a surprising crunch to your dishes. Quick pickled garnishes also offer a tangy contrast, enhancing the overall taste.
| Technique | Best Use | Tips |
|---|---|---|
| Negative Space | Focal Point Emphasis | Use 30% negative space for balance |
| Edible Flowers | Color and Flavor | Pair with complementary ingredients |
| Microgreens | Freshness and Nutrients | Harvest at 14 days for peak flavor |
- Demonstrate sauce painting with agar gels for clean lines.
- Create elevation using fried noodle baskets for added dimension.
- Troubleshoot color bleeding in composed dishes for vibrant presentation.
- Present temperature-contrast plating strategies for visual interest.
- Detail microgreen flavor pairing principles for balanced taste.
- Explore edible soil textural components for surprising crunch.
- Compare asymmetrical vs geometric plating for different aesthetics.
- Create floating dessert illusions for a dramatic effect.
- Demonstrate quick pickled garnish techniques for tangy contrast.
- Detail UV-reactive plating elements for unique presentations.
Common Mistakes and How to Avoid Them
Have you ever struggled with a dish that turned out too gummy or lacked the right balance of flavors? Even the most experienced cooks can make mistakes, especially when experimenting with advanced techniques. Let’s explore some common pitfalls and how to fix them.
Over-Gelification
One of the most frequent issues in molecular gastronomy is over-gelification. Using too much agar or gelatin can result in a rubbery texture that ruins the dish. For example, a 0.3% xanthan gum concentration is ideal for achieving the perfect sauce viscosity without making it gummy.
If your dish turns out too firm, try diluting the gel with warm water or adjusting the hydrocolloid ratio. Troubleshooting gummy textures often involves experimenting with ingredient concentrations to find the right balance.
Balancing Texture and Taste
Another challenge is balancing texture and taste. Overloading a dish with too many textures can overwhelm the palate, while neglecting flavor can make it bland. For instance, flavor threshold dilution principles can help you adjust the intensity of your ingredients to achieve harmony.
Acid adjustment is a simple way to enhance taste. Adding a splash of lemon juice or vinegar can brighten flavors and balance richness. Similarly, optimizing the Maillard reaction can deepen the savory notes in your food.
- Rescue gummy textures by diluting gels or adjusting hydrocolloid ratios.
- Balance flavors through acid adjustment or dilution principles.
- Fix collapsed foams by stabilizing with emulsifiers like lecithin.
- Address hydrocolloid overdose by reducing concentration or adding liquids.
- Optimize the Maillard reaction for richer, deeper flavors.
- Experiment with temperature to enhance flavor perception.
- Avoid textural overload by focusing on one or two key contrasts.
- Recover sauces by thickening with xanthan gum or reducing over heat.
- Mask unwanted flavors with complementary ingredients.
- Prevent sensory fatigue by varying textures and flavors throughout the meal.
By understanding these common mistakes and their solutions, you can elevate your cooking and create dishes that are both delicious and visually appealing. Whether you’re a beginner or a seasoned chef, these tips will help you master the art of molecular gastronomy.
Conclusion: Bringing Science to Your Dinner Party
Bringing science into your kitchen can transform ordinary meals into extraordinary experiences. By applying techniques like spherification, emulsification, and sous vide, you can elevate your cooking to new heights. Always prioritize safety, especially when experimenting with advanced tools like liquid nitrogen or whipping siphons.
Creativity is key when combining methods. Pair powdered flavors with edible foams or use gelification to create unique textures. Focus on sourcing cost-effective ingredients to make these techniques accessible at home. Remember, the goal is to enhance taste, not just create spectacle.
Building a molecular pantry with staples like agar and sodium alginate ensures you’re always ready to innovate. Embrace sustainable practices by minimizing waste and reusing materials. Collaborative dinner parties can turn these experiments into shared experiences, making food the centerpiece of memorable gatherings.
Balancing innovation with tradition is the heart of molecular gastronomy. Whether you’re a beginner or a seasoned cook, these methods offer endless possibilities to explore. Start small, experiment often, and let your creativity guide your culinary journey.
